
Steps to Use Nail Stickers
Nail stickers are the quickest way to do nail art, and it is also suitable for you to apply at home. Here are the steps for nail art stickers, let’s learn about it together:
Steps of nail strips
- The first step: trim the nail shape and polish the nail surface with a nail file to make the nail surface smoother.
- The second step: prepare the needed nails for spare.
- Step 3: Apply glue on the patch, the amount of glue must be appropriate~
- Step 4: Stick a patch on the middle finger, and illuminate the lamp for 60 seconds.
- Step 5: Paste all nails in the same way.
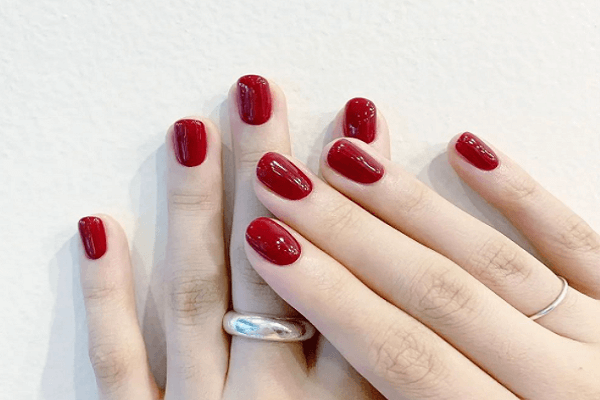
Steps of phototherapy nail patch
- If you want to make longer nails, you need to paste nails. Generally half nails are commonly used. Polish the nails where the nails need to be applied to make the lines. Use nail glue to squeeze the glue to the concave shell of the half nails, and then paste it on On the polished nails (note that the nails need to be polished as much as they need, because the next step is to polish, so there is no need to polish too much when applying them) After patching, the nail piece is a little higher than the real nail, use the sanding strip carefully It is best to polish the higher edge part of the nail to smooth it down with the real nail. If you do phototherapy on your own real nail, you don’t need this step.
- Polish the surface of the nail with a sanding strip, preferably to make fine lines. In this way, nails and phototherapy glue can be combined well. Don’t worry about your nails not being polished. Light therapy that is not polished or very small can only last for two or three days. For the preparation of phototherapy, this polishing is too important. Pay attention to the edges of the nails and don’t forget to polish them thoroughly. Use a brush to clean the polished nail dust. Do not touch the polished nail surface with your fingers.Prepare the phototherapy machine. The bonding agent is usually brushed, and a layer of bonding is applied evenly. The phototherapy machine generally has a 120S timing. Please note that the glue-like combination generally needs to be baked for 120S, and the water-like combination generally needs to be baked for 60S. Put the coated hand into the phototherapy machine for UV baking.
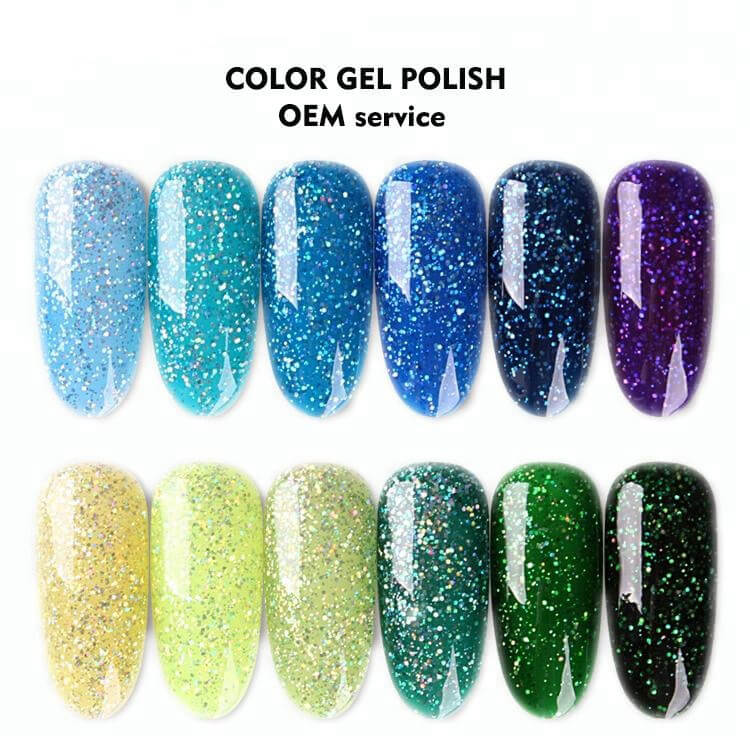
- The color glue is going to be applied next. Take the colorful sequin glue as an example, and make it into a gradual form. You need to use a phototherapy pen. Take an appropriate amount of color glue and apply it to the tip of your nails. You can make it wide and long. , Note that if it is a gradual form, it needs to be painted more on the tip, and the closer it is to the top, the less the feeling. After applying the color glue, you need to bake it in general 60S, we just set the shape.
- Next, we need to apply transparent glue. If the color glue is gradual, the nail surface will be uneven, so we need to use transparent glue to flatten the entire nail. Need to bake 120S. Do not apply the glue to the nail flesh on the edge of the nail. Keep a little gap, the sealing layer is easy to use, teach you a little trick, if it is not flat at a time, you can do this: first brush a thin layer, bake 30S, then brush a thin layer and bake 30S, then brush, and then Baking can be repeated many times.
- Be patient. In this step, we need to use quick-drying water, which is a cleaning agent, because the UV light of the phototherapy machine can only shape the phototherapy gel but cannot dry the surface. Pour quick-drying water on absorbent cotton and wipe the surface of the nails. At this time, the surface of the nails will not be sticky, and then use a tumbler to smooth out the uneven areas. Use the sweeping brush to remove the polished dust.
- Sealing layer. There are generally two types of seals, one is a no-wash seal, and the other needs to be washed with quick-drying water. Use a brush to evenly brush the sealant on the surface of the nails and cover the transparent glue on the nails. Because there are gaps when applying the transparent glue, the entire transparent glue can be covered inside to achieve a true seal. Remember, Do not apply the sealant to the meat directly on the outer edge, as it will knock the edges. After coating, put it in the phototherapy machine and bake for 120S-180S, take it out and wipe it with detergent. If you don’t need to wash it, you don’t need to wash it, but it should be noted that you can’t take it out without washing it. Just touch it with your fingers. Air dry for more than 3 minutes before touching.
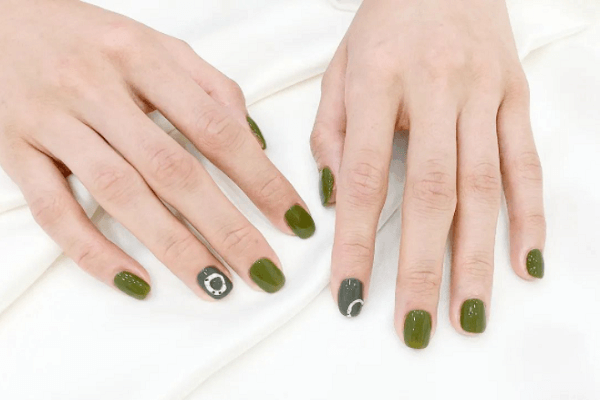
Steps to stick nails
Paste nails
- First, choose a suitable nail piece. If the radius or length of the finger edge is not suitable, you can use a 180-degree grinding rod to modify it. (If the skin of the finger is too old, you can use the push stick to gently push the skin back.)
- Use a 180-degree grinding rod to gently polish the surface of the real nail to increase adhesion. (If you are worried about nail damage or thin nails, it is recommended not to polish the real nails, and you can apply the primer first. But the relative adhesion will be worse.)
- Apply an appropriate amount of special glue on the inner side of the artist-painted nails. (Please avoid touching the skin. If you accidentally touch it, please soak in warm water immediately, and then wipe with nail remover.)
- First press the nail piece gently against the edge of the finger, then press the painted nail piece down against the surface of the real nail, and press it tightly to squeeze out the air in the gap
Remove the nails
- Use acrylic scissors to cut the nail pieces short.
- Soak the nail remover or use absorbent cotton to moisten the nail remover and wrap it with aluminum foil, and wait for about 15-20 minutes. (Before removing the nails, apply petroleum jelly or finger edge oil around the finger edges to reduce dryness and damage to the skin.)
- After the nail is softened, use a push rod to gently push it away.
- After removing it, remember to wipe the finger edge oil and other repairs.
- If you have allergies or discomfort during use, please stop using it immediately.
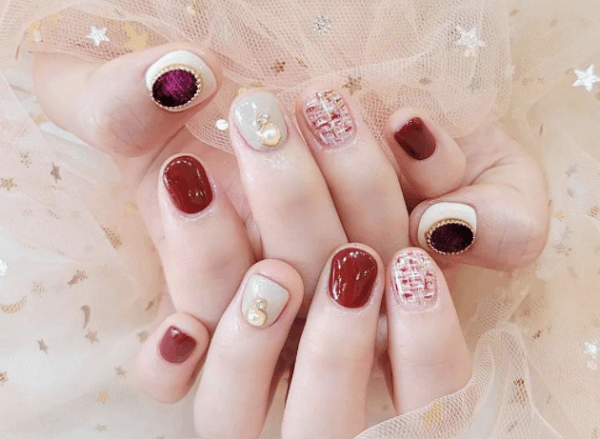
How to paste nail art pieces
- Choose the nail piece with the same size as the nail (if there is a different size, choose the most similar piece and trim it).
- Soak your hands with warm water, apply softening fluid to the dead skin area on the edges of your fingers, push up the dead skin with a dead skin pusher, and cut off the dead skin with special dead skin scissors.
- Use a file to carve and polish the nails and polish the surface of the nails.
- Apply glue to the trimmed nail piece, press and push it with your fingertips (so that the nail piece can be closely attached to the nail)
- Cut to the length you think is suitable, and start to polish the half-pasted place, mainly to trim the thickness. After trimming, do not look with the naked eye, but use the finger to feel. If it feels flat, it is trimmed, and then the shape of the nail is trimmed. (If you have the conditions, it is recommended that after applying the nail piece, you do not need to polish the half-stick area, first trim the shape of the nail, and then apply the crystal nail material, which is the crystal half-stick, which is more convenient).
Recommend Products
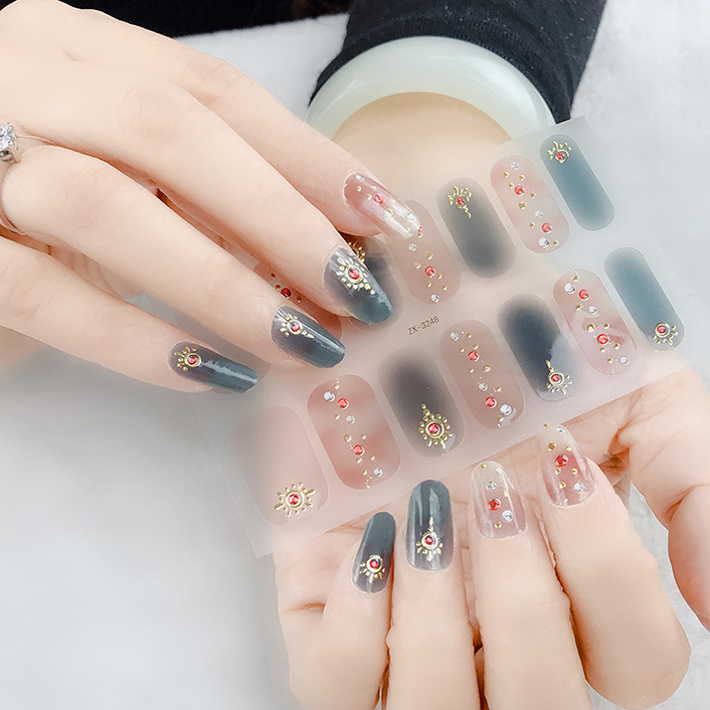

| Email: | rainbowstar@vip.163.com |
| Phone: | (+86)13539729899 |
| Fax: | (+852)2796 2861 |
| Add: | Unit C 15/F Hua Chiao comm center 678nathan, rd.,MONGKOK KL.H.K. |
Don't miss out,Stay updated.
Subscribe to our and receive update about products and other crypte tips.


